Showing posts with label Creative Projects. Show all posts

Wednesday, September 30, 2015

Trellis Facelift - a creative project


These look like wrought-iron trellises but actually they are metal decorative panels that I painted. A friend spied the two panels in her neighbours trash and rescued them for me, knowing that I might like to do something with them. 

  
They were a yellow creamy colour before the transformation.


They were discoloured and had rusted in several places. 


I used a matte charcoal coloured paint that I had left over from another project and painted them completely. Using a small brush like the one in the photo and an even smaller brush to get into all the tricky little places, it was a slightly tedious process, but worth the effort.


I left them to dry leaning against a tree and then placed them in the garden in a spot where the panels create a view looking through them. I may eventually use them as a trellis to support a flowing vine of some kind.


Sunday, August 2, 2015

Driftwood Votive - a creative project


Ever since a friend of mine described a serene sea-themed bedroom project that she was planning, I have had in mind the idea to make a driftwood votive for her newly painted dresser. The first step was to buy a glass container (mine came from a thrift shop), then to find driftwood pieces with similar diameters down by the beach.


After giving them a good washing and time to dry completely, I selected the ones I wanted to use and cut them to length.  I had decided that I wanted some of the glass to show at the top.


Using a rubber band to keep the sticks in place, I placed the sticks around the outside of the jar, choosing each one to fit well next to the other. Once all were in place I carefully applied a small amount of glue between each stick, at the points where one stick touched the other. Don't worry about too much glue, you can use a toothpick to smooth away the excess glue. Choose a glue that is suitable for wood and that dries clear. I used two bands during the gluing process and kept the rubber bands in place until the glue was completely dry.


Once dry, I removed the rubber bands and carefully lifted the glass out of the driftwood ring.  I then cut a ribbon and glued it to the driftwood on the inside of the circle.  It is better to glue a ribbon towards the top of the sticks and another at the bottom.  This will reinforce the ring, should some of the glue between the sticks come apart.


Once the ribbons are securely glued to the sticks, gently place the glass jar inside the ring. The driftwood votive is now ready for a candle.


You can also use the driftwood votive as a vase, or as a container for any other number of things!


Friday, July 24, 2015

Chalk Paint, easy project or not?


A friend of mine has been working on a wonderful project lately, painting her bedroom furniture with chalk paint. I had been curious about this magical paint for some time, so it was with great delight that I took her up on her offer to try the paint for a project of my own. 

I thought that an old white shelf with a set of hooks, which had been a thrift-shop find and had been languishing in a cupboard for a few years, would be a perfect small project for my first foray into chalk paint.


The marvelous thing about chalk paint is that you do not have to prepare the surface of whatever you are painting in any way. So after a coat of duck egg blue paint it was time to let the piece dry, which takes less than half an hour. 


 Once the paint is dry, you brush on a coating of clear wax, then buff it lightly with a clean rag or some paper towels. If you want a nice clean finish then there is no need to go further, your piece is done. If, however, you want to age the piece a little, you brush on some dark brown wax, then wipe it off a little until you achieve the desired result.


Once you have added the brown wax to all the places you want it, you finish with another coat of clear wax.  Then you buff the entire surface until the finish has a nice sheen. For this step I placed a shoe polish brush into an old sock to use for the buffing. It was fast and efficient.

  
And that is all there is to it.  There are other techniques to create a distressed look, and you can find loads of helpful instructions online.All that was left was to choose some photos to pop in and hang it up.  A very easy way to obtain very satisfactory  and quick results.


Sunday, March 9, 2014

Warming Up Winter with Ikebana


After attending an Ikebana Exhibition at the Japanese Embassy, I was inspired to create an arrangement of my own.


So I took myself off to Belfiore, a favourite flower shop of mine, to see what wonderful exotic blooms they had to offer that day.
 

I chose some beautiful orange Star of Bethlehem,


some mimosa with its cascading tiny yellow pompom buds,

 
as well as some long-lasting orange and yellow alstroemeria.
 

combined with a glossy green leaf and interesting pieces of driftwood. Et voila!


Friday, February 28, 2014

Spring Comes for Tea


February's over, which means it's time to create the March window display for my favourite tea shop.

 
So with the theme of spring arriving, and nature showing signs of coming back to life, I chose teapots, cups and bowls in shades of brown, like the earth, and robin egg blue.


With twig and moss balls, tree bark, and branches to add a touch of woodland...


and speckled eggs dotted about here and there.


I can't wait for nature, the real one outside, to catch up!


Tuesday, February 4, 2014

A Return Engagement


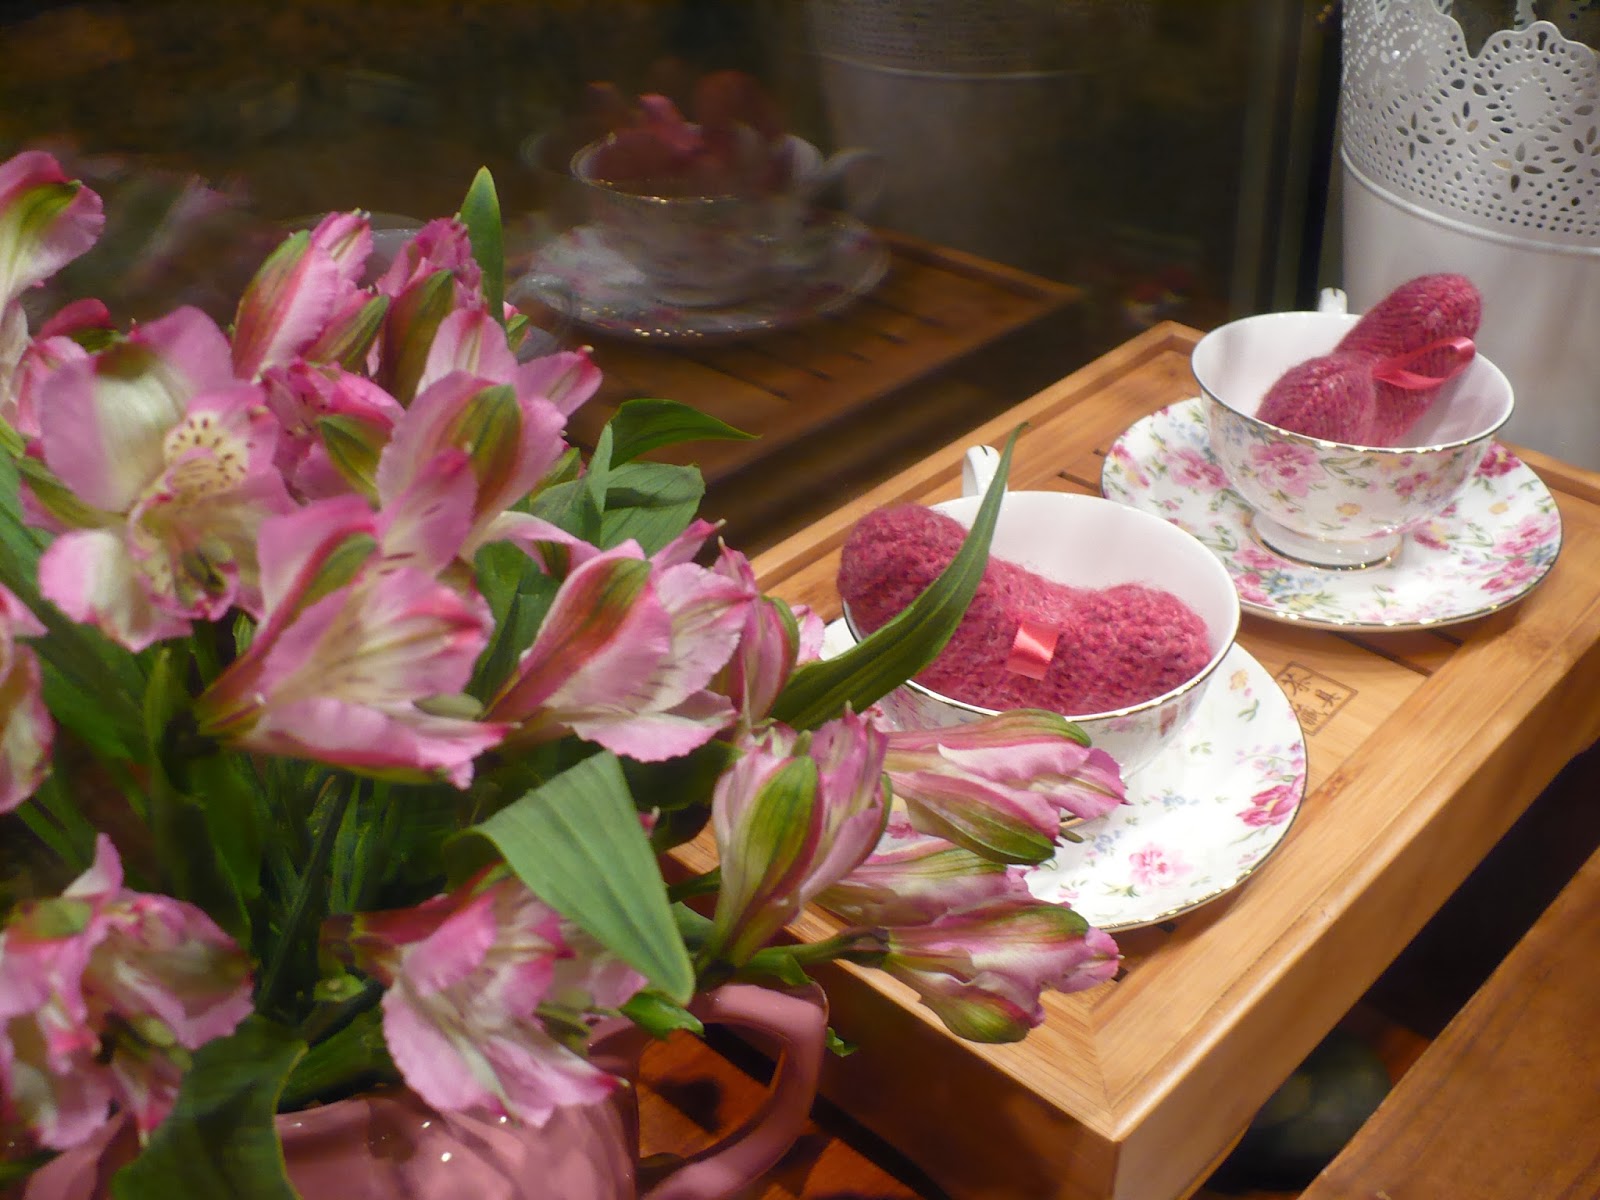
Here I am getting to dress the window of my favourite tea shop once again. Turns out it's something I love to do. I thought I would! So much fun. This was the February window, so Valentine's had to  play a part.                                                    


Once again my sweater hearts made an appearance.


Lots of pretty chintz and florals in various shades of pink. 


Valentine's Day is the perfect time to highlight a line of jewelry made from bits of china.


Tea for two?


Thursday, January 2, 2014

Dressing a Tea Shop Window


I've often thought that I would like to be a window dresser.


Well, it looks like know I'm going to get my chance.


My friends at my favourite tea shop graciously allowed me to do their Christmas/winter window display.


I had such fun making all the sweater hearts to add a cosy feel.


Thursday, December 19, 2013

Christmas Swags


Here are some of the lovely swags that were made at my 5th annual swag-making event.


Every year, a group of friends come over to make a swag for their doorway or to give to someone else.


We have a lovely afternoon, creating, conversing and enjoying some treats. Some swags are made by friends who live on my street, so I get to see them every day as I pass by. 


 At the end of the swag-making afternoon, it always amazes me how different each swag is from the other, and all so very lovely!