Sunday, November 10, 2013

Victorian Dinner Party #7


Some antique alphabet blocks spell out Victoria on the mantle.


A selection of items were gathered together into a vignette for effect, providing a suitable backdrop. This clock looks old but is actually an inexpensive thrift shop score.


An old print about October was a lucky find in a thrift shop, only a couple of weeks before the party. Even better, it cost the very reasonable sum of $1.99, including the matting and frame.


The poem is appropriate for Halloween and the past, with its mention of chill October winds "sadly sighing, when the leaves in circlets fly, all seems dead or dying."
  

Saturday, November 9, 2013

Victorian Dinner Party #6


These are the take-away gifts that my guests received as they were leaving the party at the end of the night. Inside the Victorian cones was a combination of  "tricks and treats", tricks such as a plaster skull, sticky eyeballs, scary hands, a mouse and a spider; and yummy baked treats: meringues, almond crescents and madeleines. 


The loot was wrapped in black-and-white printed tissue paper in which was placed a layer of parchment paper. The cones had black ribbon handles.


The cones were made with black construction paper and reinforced at the seams by patterned contact paper in a suitable Victorian motif. On the black construction paper areas I glued images that I had photocopied from the 1901 Eaton's catalogue, cutting them out and placing the masculine items on the cones for the men and the ladies' items on those for my female guests. 


Here are some of the ladies' cones.


  And here is one for the men.


They were all a llittle different from each other.


Friday, November 8, 2013

Victorian Dinner Party #5


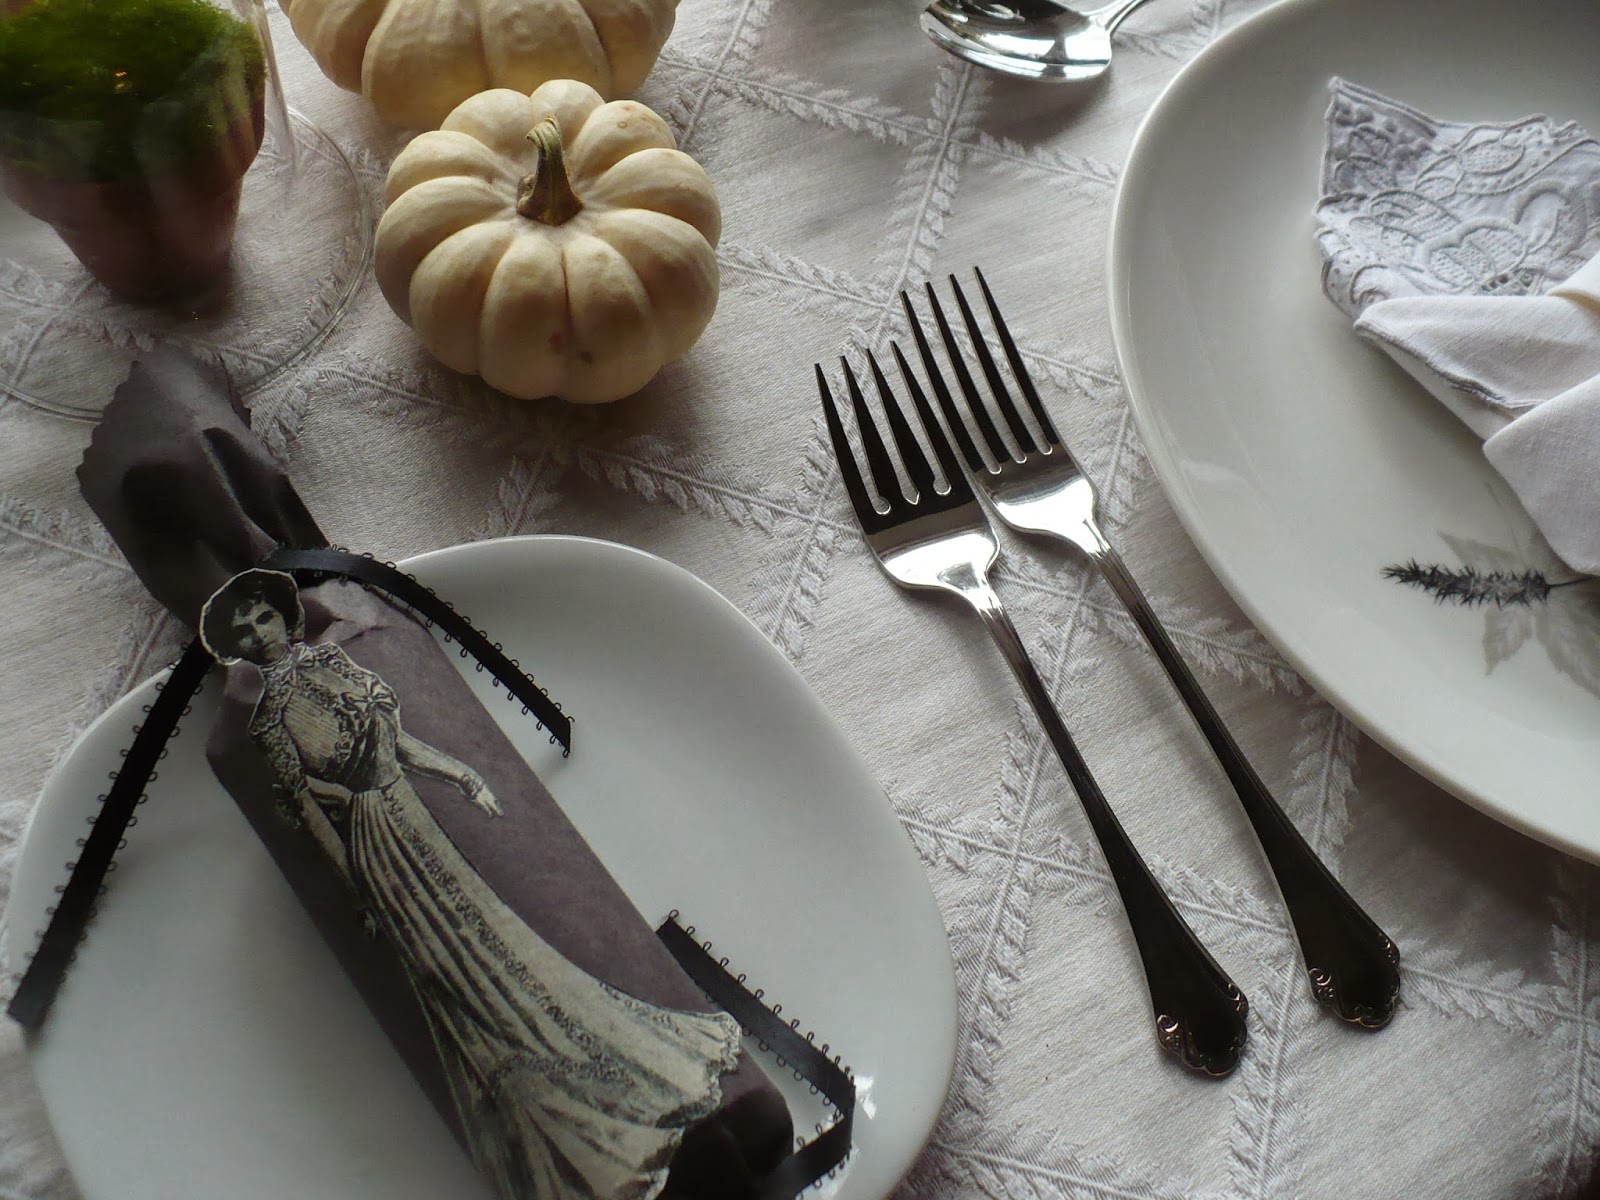
At each place setting there was a Halloween version of the traditional Victorian Christmas cracker, complete with snaps. Each one had a different fashion plate from the 1901 Eaton's catalogue, either male or female, as appropriate for the guest.


Inside each cracker was a tiny bottle of snuff (for the men) and smelling salts for the ladies. 


The bottles were made from small dollar store bottles, and oh joy, with real corks to seal them. Instead of snuff I used ground tea leaves, and sea salt stood in for actual smelling salts. 


It was easy to make labels on the computer, print them off and give them a tea bath. They were then cut out and glued to each bottle. They looked surprisingly like authentic old labels. 


Also in each cracker was either a vintage tie pin or brooch, searched for and collected over the year at thrift shops, vintage sales and church bazaars. 


Instead of the traditional motto inside a Christmas cracker, there were old sayings along with their meanings and origins. They provided entertainment as guests took turns reading a couple of them between each course. For example, the origin of "gone to pot" comes from Elizabethan times and refers to meat that has past its prime and is only good for the stew pot.


 A selection of snaps and figures to be used in making the crackers along with the ribbons to tie them were gathered into a basket for convenience while assembling them. The scary novelties ended up in the loot cones that were given to each guest as they left, but more on those to come in a future post!
 

Thursday, November 7, 2013

Victorian Dinner Party #4


Guests found their place at the table with the help of  Victorian sketches skewered on a Victorian-type hat pin. I was able to find a sketch of a Victorian figure that was specifically tailored to the interest of each of my guests. For example, the cyclist above was perfect for my husband, who spends much of his time on one of his bicycles.  I found the sketches in the illustrated diary of a Victorian lady, whose charming ink and watercolour sketches detail her life's happy, trying and often amusing adventures. 


I made the hat pins from a selection of beads, including one's that gave a nod to the Victorian jet beads that were so popular at the time. The pins were purchased at a bead store.


The beads were easily threaded onto the pin and a clasp kept the pointy end safely covered.
 

 I added a small folded piece of cardboard at the back of each figure and ran the pin through it so that it held firm on the pin, then placed one in each wine glass.
 

My guests took their pins and sketched figures away with them at the end of the evening. There was a lady painting at an easel for my artist friend, a woman watering her flowers with a watering can for my gardener pal, a lady reading a book and petting her cat for my librarian/reader friend who also happens to have a pet cat, and a woman walking her lovely wee dog for my friend who regularly walks her beloved Abby, and of course my free-spirited and wildly spontaneous pal was portrayed by the hair-tossing lady dancing the hornpipe with arms flailing. There were similarly appropriate choices for my male guests.
 

Tuesday, November 5, 2013

Victorian Dinner Party #3


The table was set with an ivory coloured tablecloth, and set for 12 with a coordinating mixture of two patterns of Royal Doulton fine china from England. One that belonged to my mother (the Tumbling Leaves pattern shown here) and one borrowed from M. I could not believe how seamlessly they worked together!


Luckily, I had 12 matching embroidered linen napkins that I had found a year ago at a church bazaar. 


The napkins were folded into the jaunty Romanesque fold and set on the side plates ready for guests' laps. 


Moss covered with glass domes, a black-sand hour glass, and creamy wee pumpkins all added to the feeling of Victoriana. 


The addition of a black grosgrain ribbon tied into a bow, with the addition of a pearl, around the stem of each wine glass was a sweet added touch.


This wonderful butter dish, loaned by R., looked creepily like a coffin.  And when opened by the tiny hands...


revealed butter pats for the dinner rolls.


These adorable tiny salt and pepper dishes also added a Victorian feel to the table setting. Thanks M. for loaning these, the glasses, and so many other things that helped to create the party's atmosphere.

Friday, November 1, 2013

Victorian Dinner Party #2


Won't you come inside and join me at my Victorian dinner party over the next week or so in my blog posts?


Without a doubt, wonderful ambiance was added to the dining area with the inclusion of this iron candelabra, borrowed from R. and lit with ivory candles.


 The addition of a black bird, black gloves and a snippet of black lace on the lampshade also added to the sense of going back in time.

  
An assortment of eerie blackbirds in various sizes, perched about the room, presided over the proceedings. 


The black-and-white sign with various patterned backgrounds served to warn the guests of what might be ahead.
 

Tuesday, October 29, 2013

Victorian Dinner Party


I decided last Halloween that I wanted to have a Halloween Party the next year. So as the year wore on, I gave it quite a lot of thought and decided that rather than the traditional costume party, I would hold a Victorian dinner party.  All year, I wrote down ideas in a notebook as they came to me. As it turned out, my chosen theme provided huge scope for the imagination! 

Here is the invitation I made for the event.  The clock and images of the figures were taken from an 1901 Eaton's catalogue.


As I was creating the invitation, I thought it would be fun to date the event as Saturday, October 26, 1901, rather than 2013.  I then wondered what day October 26, 1901 actually was. I had one of those "I don't even need to check this, somehow I already know" feelings. A quick check of a perennial calendar confirmed it, October 26th had been a Saturday in 1901 as well. How perfectly spooky is that?


The first layer was a simple pocket watch to denote the sense of time.


The second layer was a black lace veil, overlaid with the explanation of how Halloween is the time of the year when the veil between this world and the spirit world is at the thinnest. Raising the veil layer...


revealed a Victorian couple in 1901 finery, in essence the hosts of the party.
 

I glued all the various layer together, added a black and white ribbon, and voila...


My invitation was complete.